
Hi everyone and welcome back to the Free Inquiry Log! I can’t believe we’re almost at the end of this journey. This week, I had a lot to cover after a few minor setbacks.
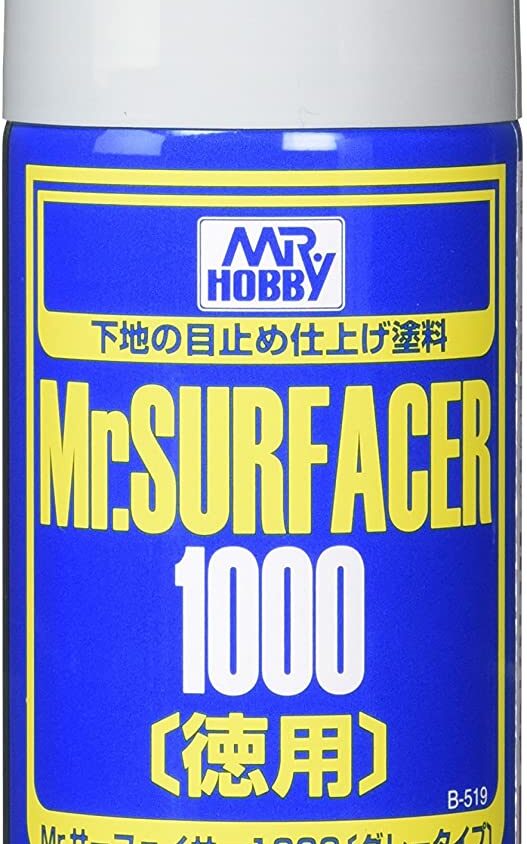
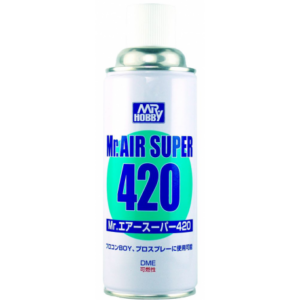
I realized a little while that halfway through painting the red parts, I wouldn’t have enough air to finish airbrushing the rest of the project. To help myself conserve resources, I switched my primer from using Tamiya’s airbrush surface primer to Mr. Hobby’s Mr. Surfacer Primer from an aerosol can. I actually found myself to prefer this method better because the primer already comes pre-mixed, so I don’t need to fiddle with correctly ratioing the primer to thinner. It was also a lot more efficient.
Eventually, I was able to get additional compressed air to continue my project, but now it was crunch time. I started with painting all of the parts with the gold detailing their base gold colour. Once that coat was dry, I applied the gloss black enamel paint. My first coat was a little bit too liquid for my intended purpose. I had mixed too much thinner with the enamel, so the paint became very diluted and did not apply in the way I wanted. It did, however, create a cool, weathered gold effect on my parts, but again, that was not the look that I was goin for. I let the first coat dry, then re-mixed my paint ratio and re-applied the gloss black. This time I did get the desired look and then began the reverse wash after that coat had dried.
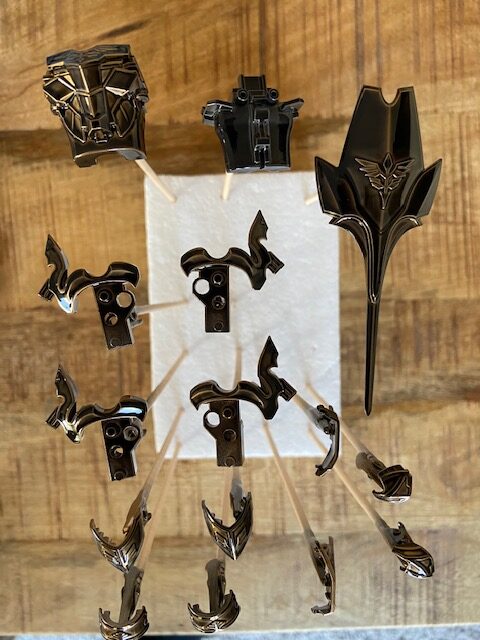
For this process, I took some hobby Q-tips and dipped them in a little bit of enamel thinner. I then slowly rubbed away the black on the areas where the gold detail will shine through. This part was extremely satisfying as it gave a certain high-quality look to my parts that there was no way I would have achieved with stickers. I mean, look how clean the Zeon crest looks in the video!
Once that was done, I simply airbrushed the rest of the inner frame parts in the gunmetal grey and the verniers in a flat aluminum. And with that, it’s time! All parts have been completed and are ready for assembly! I can’t wait to finally show you all what these processes will lead up to and what the final product will look like. That’s all for now and I will see you all next week for the final chapter in this project!