

Hey everyone and welcome back to the Free Inquiry Log! Progress on my project has been going a little bit slower than expected, but I’m happy to finally be getting painting this time! So, as the title gives away, this post will be focusing on applying the paint primer to all of my parts.
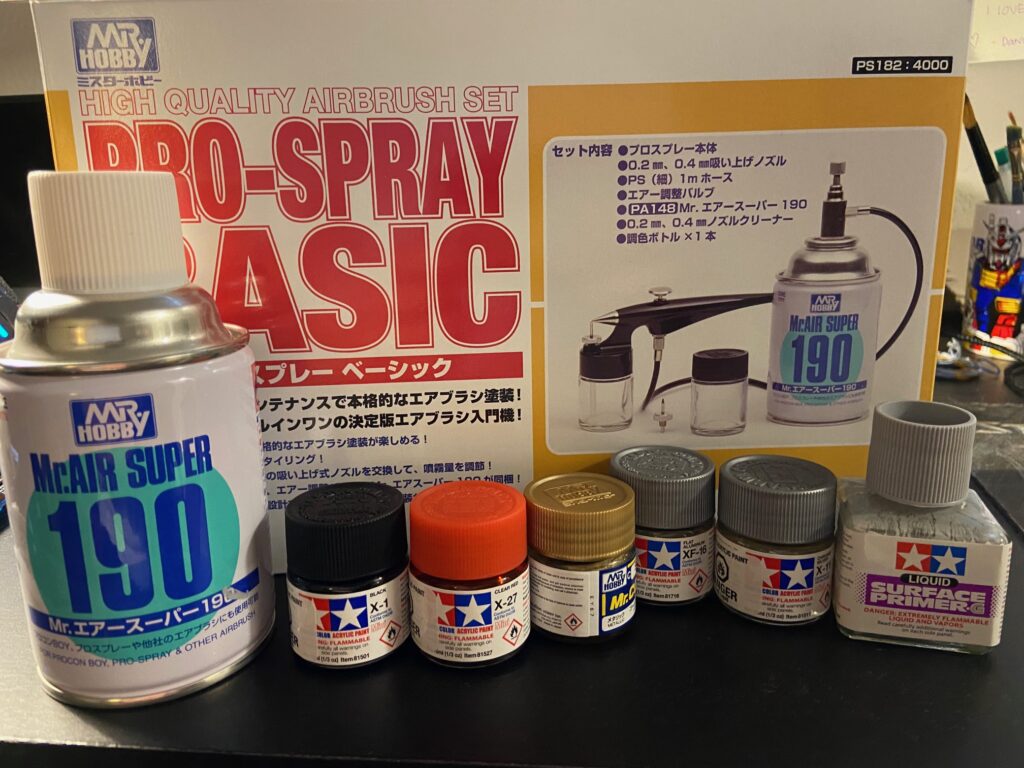
Below here is a picture of my airbrush and paint setup. The airbrush I will be using is the Mr. Hobby brand Pro-Spray Basic that functions using a can of compressed air. Along side it I have my primer, which is Tamiya’s grey surface primer, and my various acrylic and enamel based paints. Today, we’ll be focusing mostly on using the primer.
When using these types of paints with the airbrush, it is important that the consistency of the paint is correct so that it sprays through the airbrush properly. That is why I have to use the lacquer thinner with the primer. I mixed the two together with a ratio of primer to thinner of about 1:2. The trick is to get your paint to be the consistency of milk. Once that was all set up, I could attach the hose from my airbrush to the can and spray away. Here is a video of the process (including the sanding from last week).
As seen in the video, I sprayed in short bursts rather than a continuous stream. It’s really important that I apply the first coat in thin layers as I do not want the paint to “goop” up on my parts. Besides, I can always apply a second coat should my parts need more primer afterwards. Now that my parts are primed, I can finally start adding colour! That’s all for this post and I can’t wait to share what is next to come!