Hi everyone and welcome back to the Free Inquiry Log! In our most recent update, we’ve added colour! This step was super exciting as I finally got to see some noticeable progress on the project. Here is a short video that breaks down the process.
I once again used the airbrush to apply the paints. According to my plan, I first applied a coat of metallic silver to my primed parts. This process was a little bit difficult as the difference between the primer and the metallic silver paint was very subtle, so it was hard to tell if I was getting proper coverage as I was painting. You’ll see in the image below what the metallic paint (right) looks like compared to a part with just primer (left).
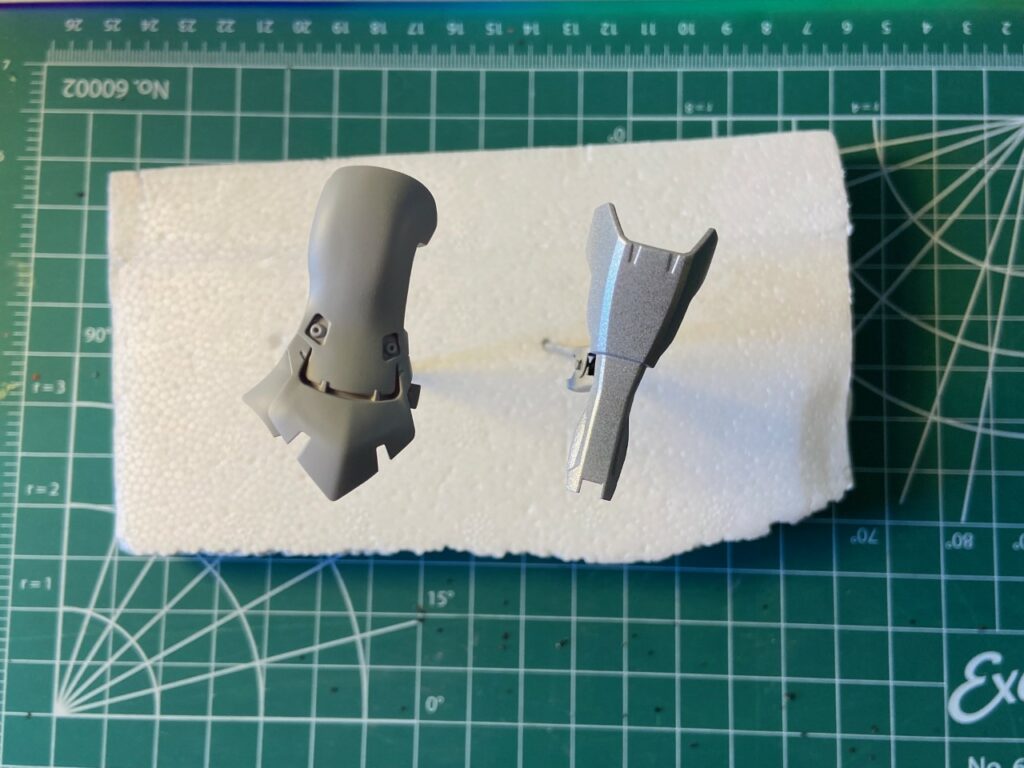
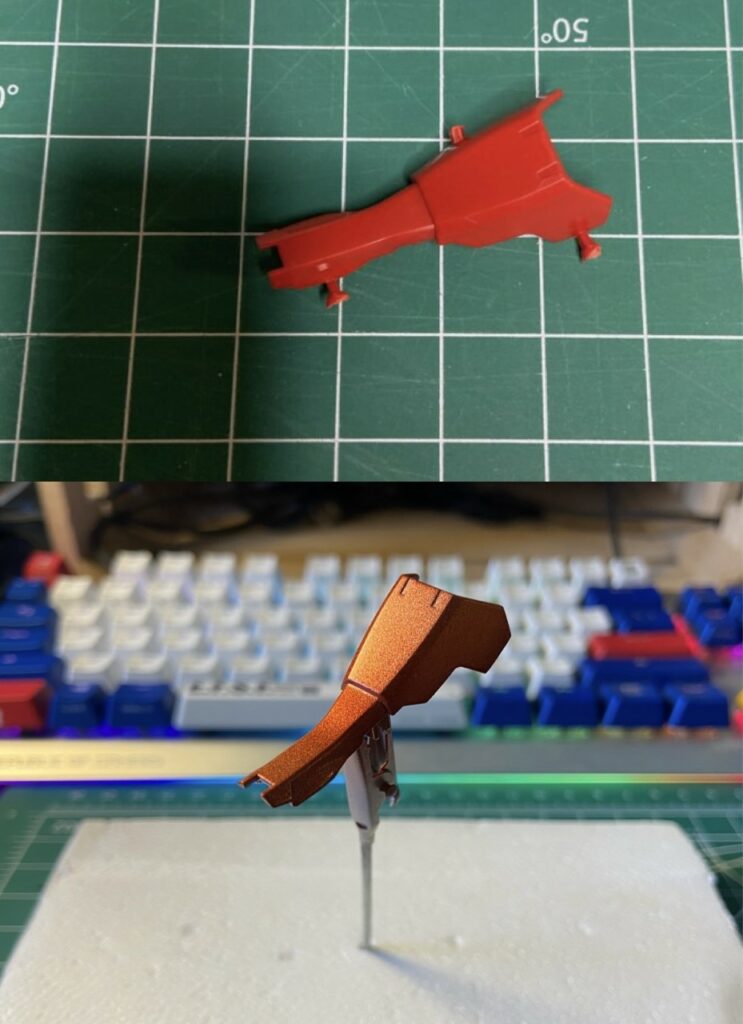
As you’ll see, one of them has a little bit more luster to it, but the difference is still subtle. But that’s what is going to give them the shiny look once I’m all finished. Now that the parts had been given their chrome undercoat, it was time to add their colour. Since I wanted the shininess of the silver to come through, I used a clear red paint with the airbrush. The paint acted more like a stain and was easier to see how well I was covering each part. Below you can see a comparison of the same part just snapped out of the box versus after I had fully painted it.
That wraps it up for this week, and I’m looking forward to showing one of the final steps before assembly, which is the reverse wash technique for the gold detailing! See you all then!