

Welcome back to another week on the Free Inquiry Log! Today, we’ll finally be taking a look at the start of the build and the preparation stages of my model kit. If you’ve ever built one of these before you’ll know what this is all about. But if not, that’s no worries at all! Just think of it like building a Lego model but with a few extra steps.
Following with my plan, the first phase of the project is preparing all of the parts of the kit. If you are unfamiliar with gunpla, this means cutting out all of the parts from the runners that they come on and then either sanding or filing the nubs that are left over. Now, I know that was a lot of terminology in the last sentence, so lets go over a few things first.
Runners are these plastic grids that hold every single part of the model kit. Sometimes they are referred to as trees or sprues and are used to make it easier to mold the parts all together in the factory and separate them into different colours. The runners also contain details about the kit, such as the name, year they were produced, and, most importantly, the parts numbers and letters. Each runner has an identification letter and numbers for the parts. These labels correspond with the order that parts should be assembled according to the instruction manual.
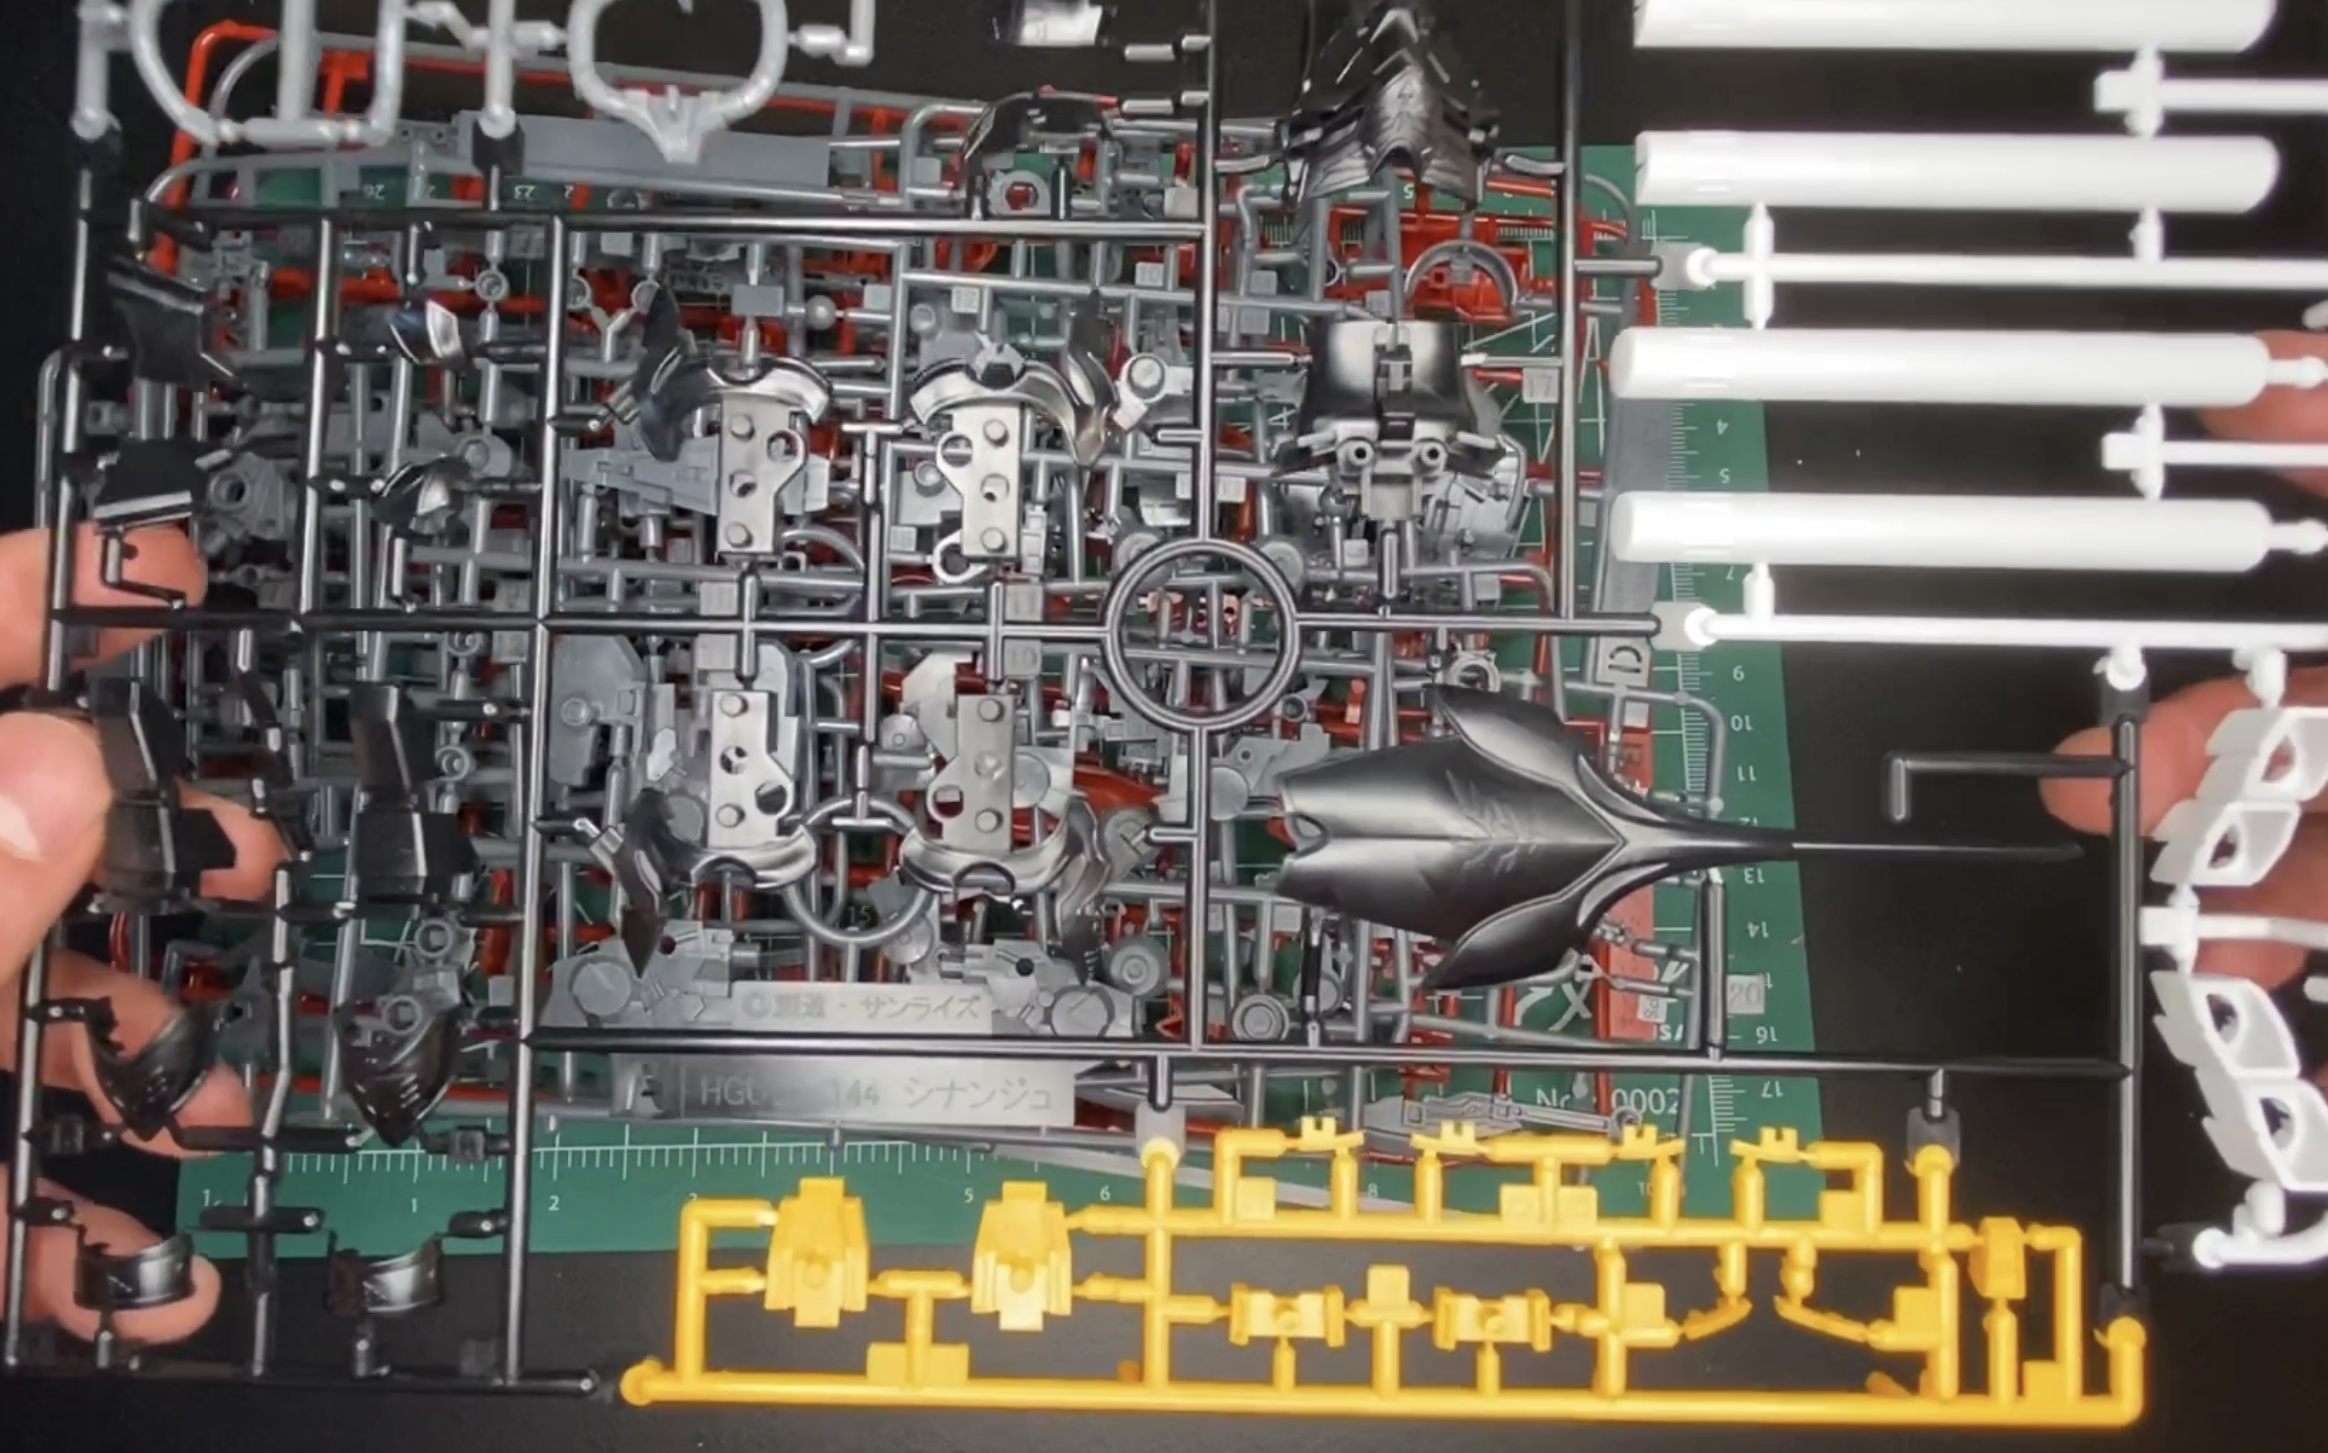
Using plastic nippers or sprues cutters, you need to carefully free the parts from the runners. After the parts are cut out, you are left with plastic “nubs” in the areas that they were formerly attached to the runners. Aesthetically, they don’t look pretty on a fully assembled kit, so gunpla builders generally take them off to give their parts a cleaner finish. Below is an image of a roughly cut out part from my kit.
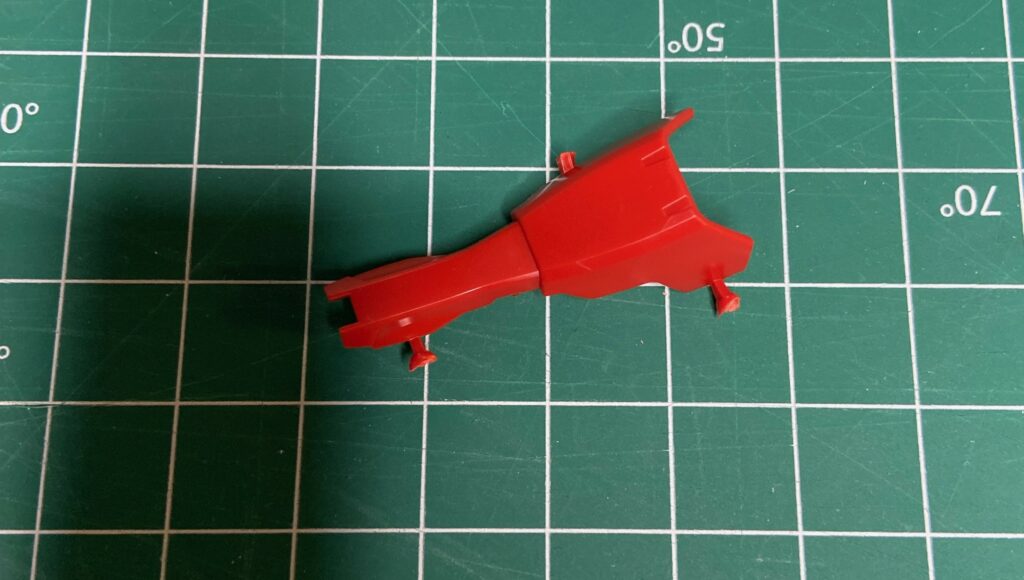
There are a few ways to do this such as snipping them off again with the nippers, filing them, sanding them, or using a hobby/exacto knife. Usually, I would just slowly cut away the excess plastic with the hobby knife, but for this project, since I want a premium finish, I will be using a combination of snipping, cutting and sanding.
Here is a short video where I go about the first phase of the build and talk a little bit about gunpla in general.
Once all of the parts have been cut and sanded, they simply snap together, just like Legos. That is what I would usually do, but since I’m painting the kit, there are a few more steps I need to take. Thanks for listening this week and I will see you all next week where we go into detail about sanding and washing the parts.